---
title: "How to Make An MCP Server MCP-UI Compatible"
description: "How I made existing MCP servers MCP-UI compatible with just a few lines of code"
authors:
- ebony
---
[MCP-UI](https://mcpui.dev/guide/introduction) is in its infancy, and there's something addictive about being this early to the party. We're at this fascinating point where both the spec and client implementations are actively developing, and I find it thrilling to build alongside that evolution.
I wanted to see how far I could push it. So I grabbed two open source MCP servers, [Cloudinary](https://github.com/felores/cloudinary-mcp-server) and [Filesystem](https://github.com/modelcontextprotocol/servers/tree/main/src/filesystem), and gave them a UI. Instead of boring text, I now get rich, interactive interfaces right inside goose.
## Why I Wanted This
Raw JSON and text is fine, it gets the job done but let's be real I'd rather interact with something pretty. Give me a cool UI over back and forth prompts.
Take Cloudinary for example. By default, uploads return a block of text, basically a JSON dump of URLs, metadata, and public IDs. Useful, sure, but not exactly easy to glance at.
What I really wanted was:
- Image and video previews
- One‑click buttons to copy or view links
- Transformation examples
With MCP-UI, it’s not just text responses anymore. Now responses can be little apps you can actually click around in within your agent's chat interface.
{/* Video Player */}
## The Pattern
Here’s the cool part, the steps are basically the same for any MCP server.
### **1. Install the SDK**
```bash
npm install @mcp-ui/server
```
### **2. Import it**
```ts
import { createUIResource } from "@mcp-ui/server";
```
### **3. Build your HTML**
For my Cloudinary server update, I used `Direct HTML → iframe`. I wrote a function that returns an HTML string that includes upload previews and action buttons.
MCP-UI takes that HTML and renders it inside an iframe using `srcdoc`.
It’s simple, totally self-contained, fast to iterate, and I get full control over how it looks.
💡 However, other modes exist:
- **External URL** – iframe a hosted page:
`content: { type: "externalUrl", iframeUrl }`
- **Remote DOM** – send a script that builds UI directly in the host’s DOM:
`content: { type: "remoteDom", script, framework }`
But for my use case, **Direct HTML was the perfect fit.**
### **4. Return both**
In your tool handler, I recommend returning both the original response and the `createUIResource`.
That’s it. Regardless the server the main steps remain the same.
:::tip warning
Right now the MCP-UI SDK is only available in **TypeScript** and **Ruby**.
If your server is in one of those languages, you can start today.
If not, you’ll either need to wait for more SDKs to drop or build your own bindings.
:::
## Step 3: My Cloudinary UI
Here’s the HTML generator I wrote for Cloudinary, this is where you decide exactly how your UI should look.
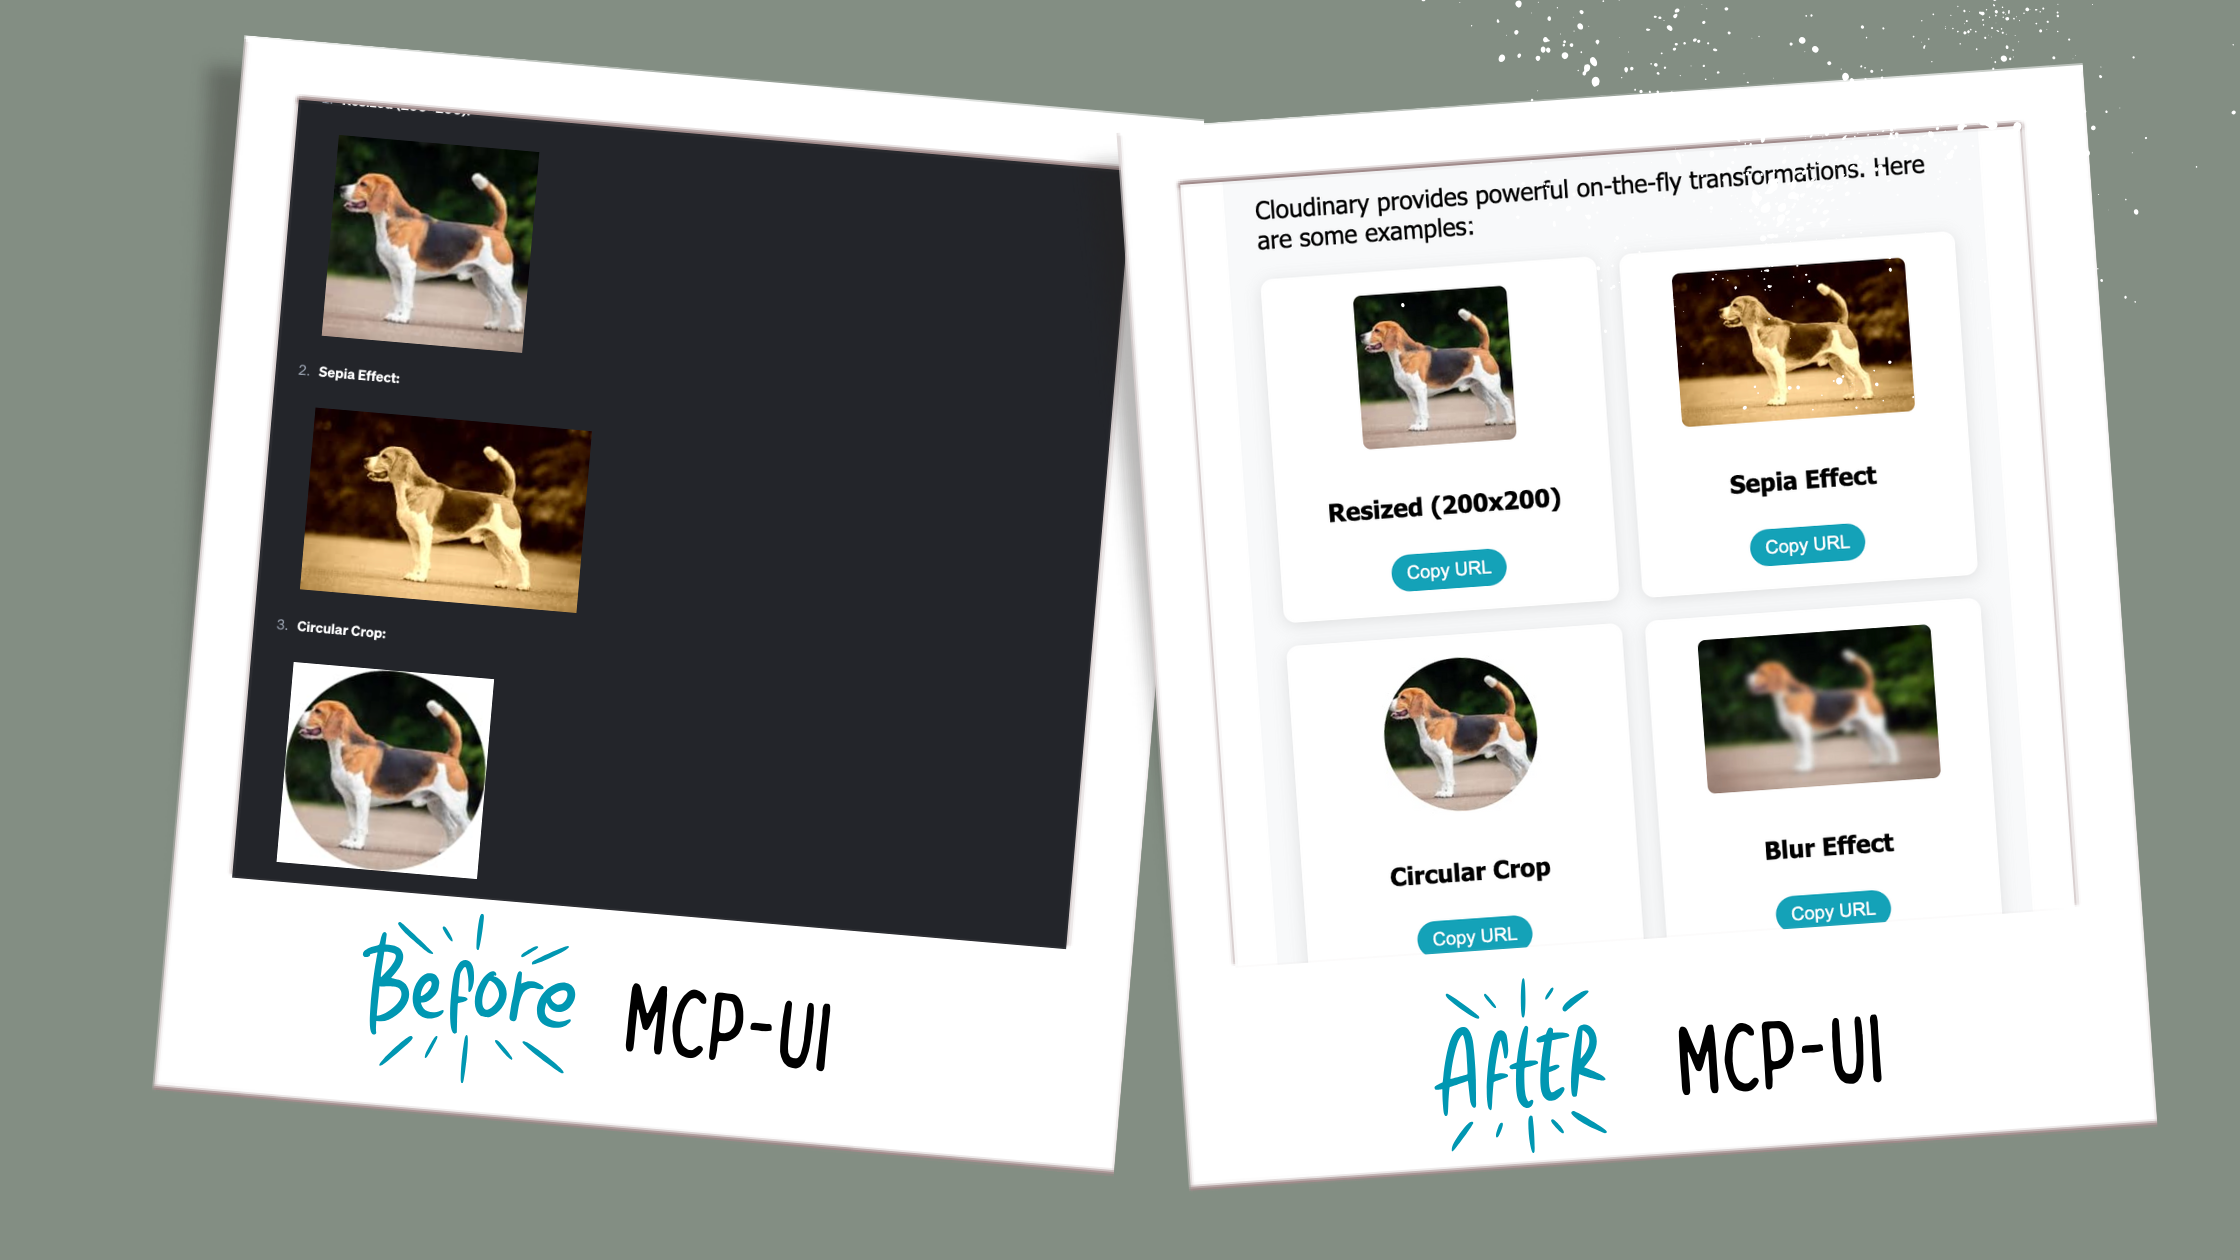
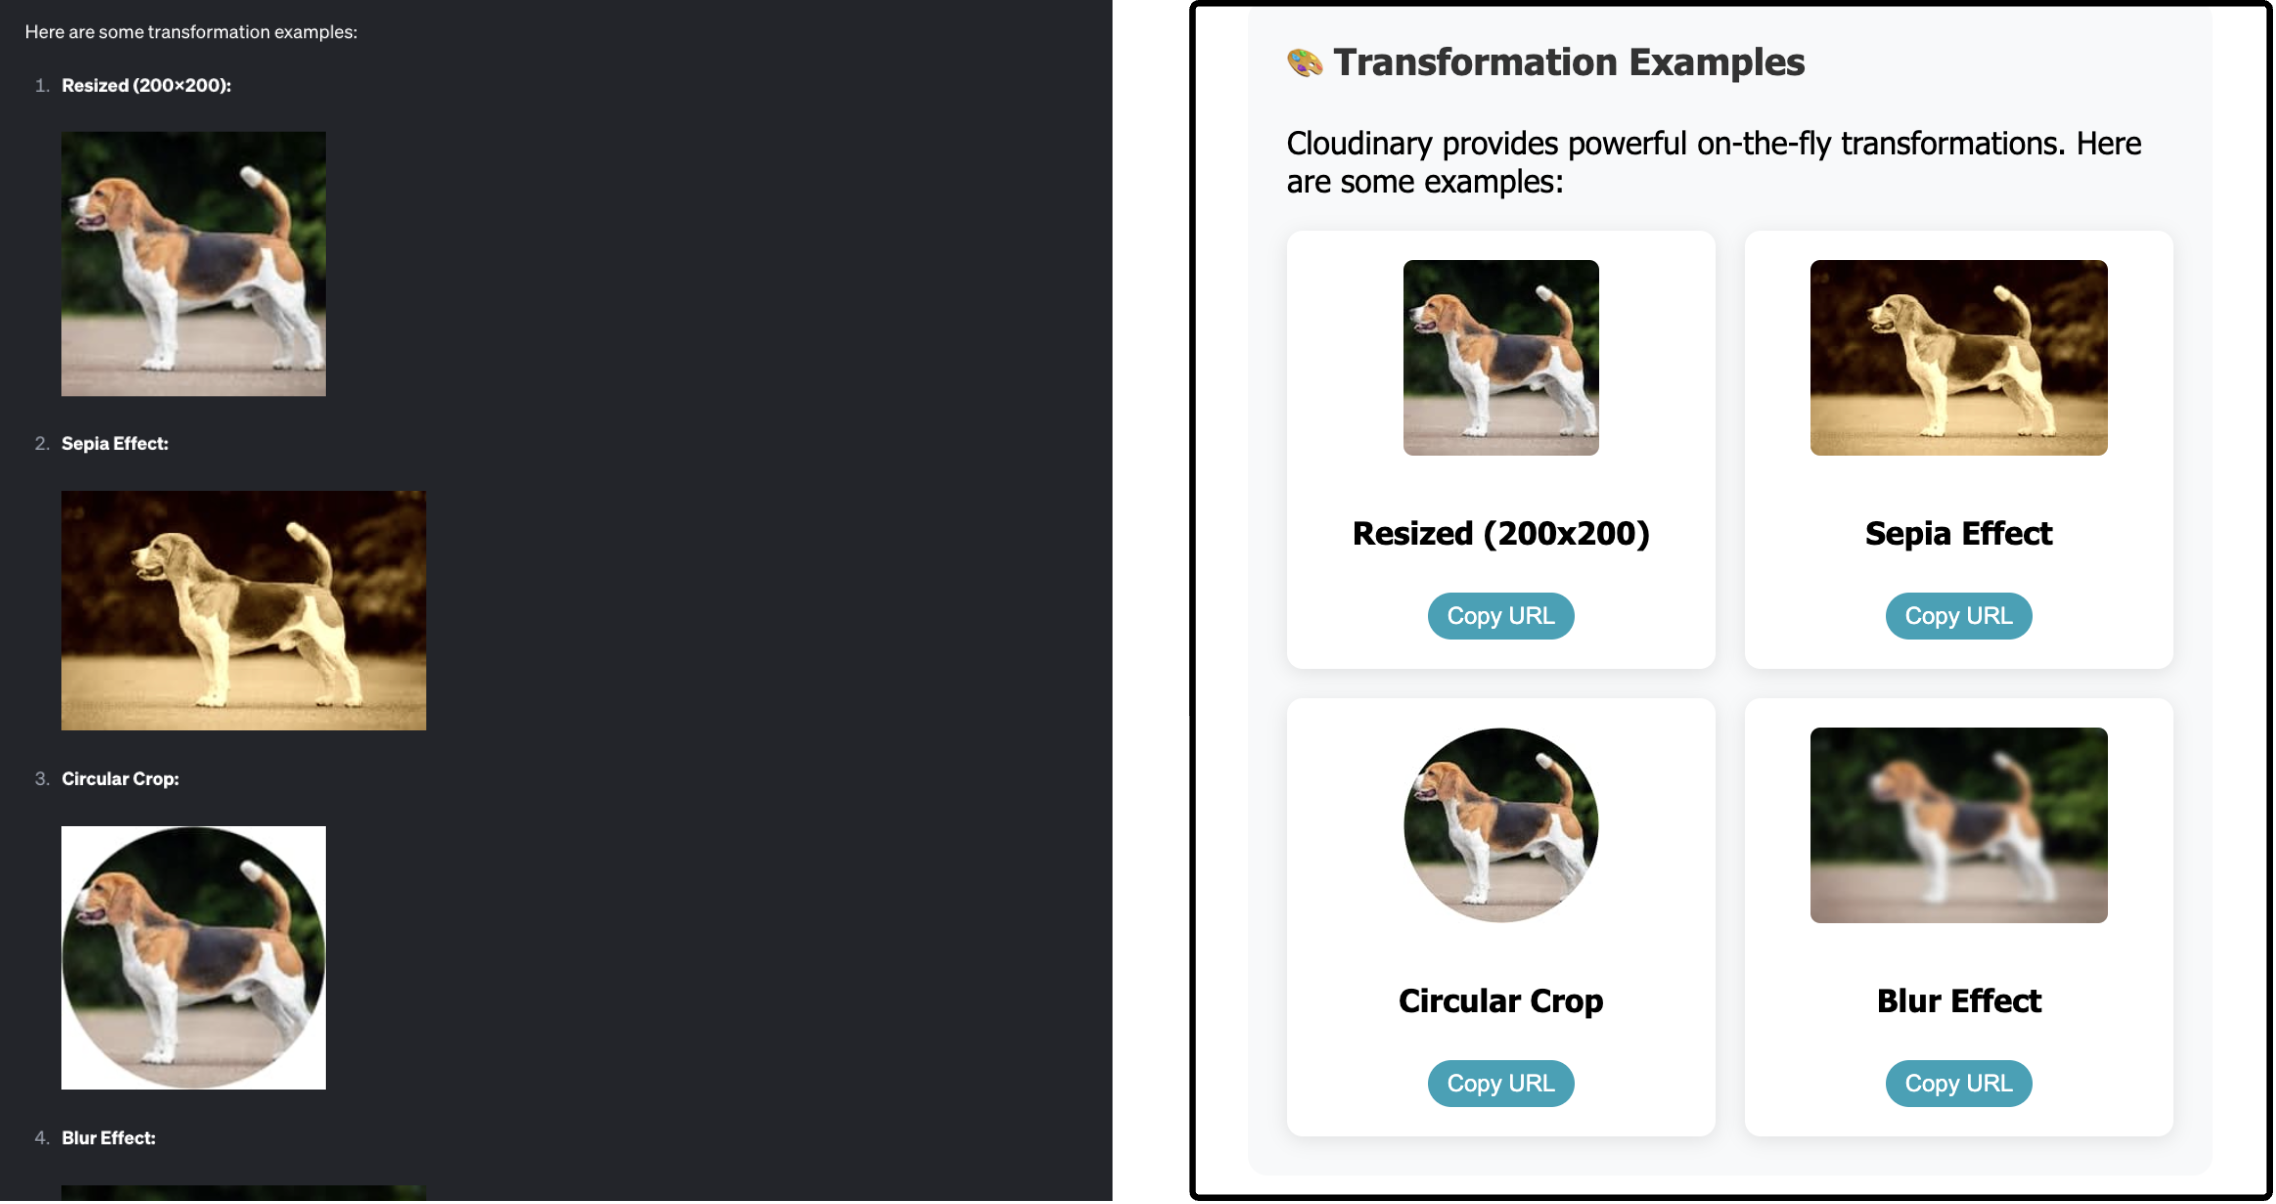
Instead of just telling you, let’s look at the difference.
**Before MCP-UI (left):** An unstyled block of text with links and raw transformations
**After MCP-UI (right):** A clean layout with cute interactive cards & previews
Click to see the code
```ts
private createUploadResultUI(result: UploadApiResponse): string {
const isImage = result.resource_type === 'image';
const isVideo = result.resource_type === 'video';
return `
Cloudinary Upload Result
`;
}
```
:::tip Resize your UI
Notice the `ResizeObserver` at the bottom of the HTML.
That little snippet is what keeps the iframe height in sync with your content so if your UI grows or shrinks, the window resizes automatically. Without it, your UI might look cut off and difficult to view.
:::
### What Makes MCP-UI Interactive?
A clean UI is nice, but it gets way more interesting when those buttons actually do something. That’s where **UI Actions** come in; they turn static layouts into interactive tools that can talk back to your agent.
{/* Video Player */}
In my Cloudinary server, I added **two** UI actions right after the `ResizeObserver` in the `
 ` : ''}
${isVideo ? `` : ''}
` : ''}
${isVideo ? `` : ''}